Taking photos and filming in the United States: light, rules and drones
Updated on
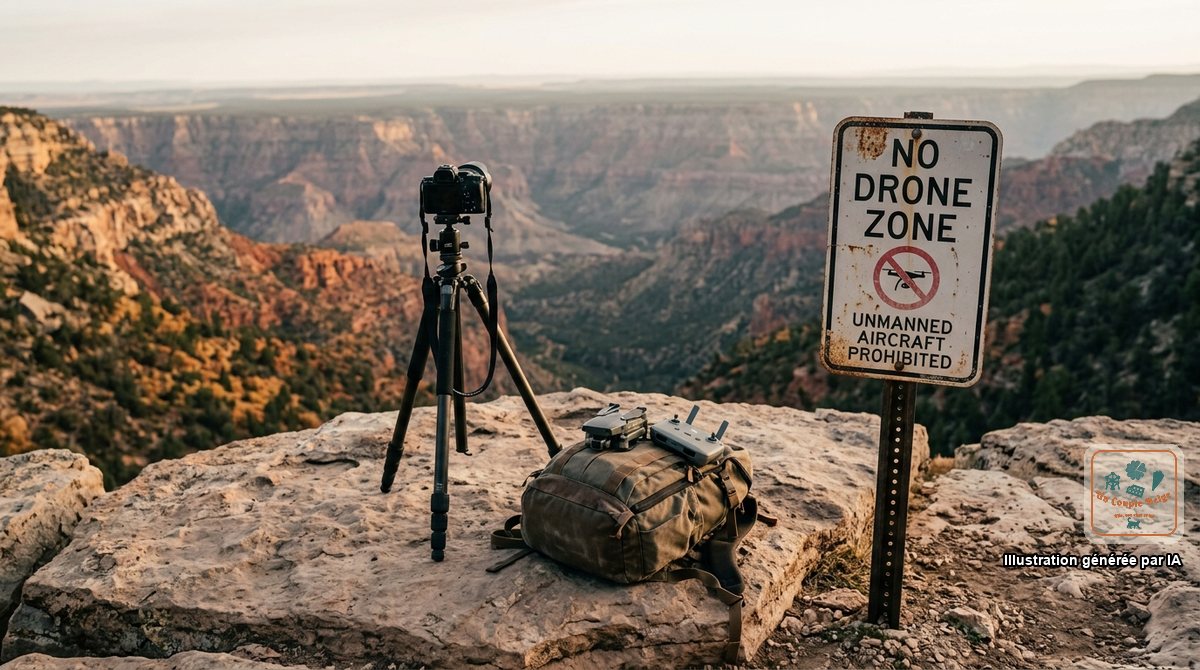
In the United States, the landscape does half the work: you take out your phone and the photo already looks good. Only half, because the midday light flattens everything, the best-known places are overrun, and the rules on drones are stricter than many people think.
Here’s what makes the difference, whatever your camera.
Light above all
In the West, red rock changes colour as the day goes on. The same butte is bright orange at 6am and dull beige at 1pm.
- The golden hour, the first hour after sunrise and the last before sunset, gives warm colours and long shadows.
- The blue hour, just before sunrise and after sunset, suits cities and silhouettes.
- The middle of the day is the worst time for wide landscapes, but the best for narrow canyons such as Antelope Canyon, where the light then reaches right to the bottom.
- Cloudy days are perfect for forests and waterfalls.
A few pointers on timing
| Place | Best time |
|---|---|
| Monument Valley, the Mittens from the visitor center | Sunrise for the silhouettes, late afternoon for the colours |
| Bryce Canyon, Sunrise and Sunset Point | Sunrise |
| Grand Canyon, South Rim | Sunrise and sunset, from the viewpoints on Desert View Drive and Hermit Road |
| Horseshoe Bend | Mid-morning, or sunset against the light |
| Zion, the Watchman from the bridge | Sunset |
| Yosemite, Tunnel View | Late afternoon |
| Golden Gate Bridge | Morning from the east side, evening from Baker Beach or the Marin Headlands |
| Manhattan from Brooklyn | Sunset and the blue hour |
An app such as PhotoPills or Sun Surveyor shows where the sun will rise and set at a given place.
We have a very strong memory of daybreak over the Mittens, seen from our cabin at Monument Valley, and of sunrise at Bryce Canyon. In both cases, the alarm went off very early.
Avoiding the crowds
- Arrive before sunrise. At 6am, the most famous viewpoints are almost empty. At 10am, you have to elbow your way in.
- Walk for ten minutes. Most visitors don’t stray far from the car park.
- Be patient: groups come through in waves, and there’s always a lull.
- Look for a different angle from the photo that has been seen a thousand times.
The rules to know
In the national parks
- Taking photos for your own pleasure is unrestricted and needs no permit, including with a tripod.
- Stay on the trails and behind the barriers. No shot justifies trampling a meadow or going near the edge.
- Respect the distances from animals: 23 metres, and 91 metres for bears and wolves (see wildlife). A telephoto lens does the job.
- Don’t attract animals with food or by calling out.
On Navajo land
- Tripods, selfie sticks and bags are banned on standard tours of Antelope Canyon. Filming is not allowed under any circumstances; photos, on the other hand, are no problem.
- You don’t photograph residents without their consent.
- See visiting Navajo lands.
In cities
- In the street, you can photograph freely. As a courtesy, ask before taking a portrait.
- Tripods are refused at most observation decks (Empire State Building, Top of the Rock) and in many museums.
- Some museums ban flash, others any photography in temporary exhibitions.
- At security checks, at the airport and at immigration, you don’t take photos.
Drones: banned almost everywhere you’d want to fly
This is the subject that earns travellers the most fines.
Where it’s banned
- At all National Park Service sites: national parks, national monuments, recreation areas, including the Statue of Liberty. The ban covers taking off, landing and piloting from park ground. The fine can reach 5,000 dollars, with confiscation of the equipment.
- Throughout Navajo territory, Monument Valley included.
- In designated wilderness areas.
- In many state parks: each state, sometimes each park, has its own rule.
- Around airports, over stadiums and crowds, in Washington, and near wildfires.
- In many cities, including most of New York’s parks.
Where it’s generally possible
- In national forests and on BLM land, outside wilderness areas and local restrictions.
- Over private land, with the owner’s agreement.
Even there, local restrictions exist: check with the area’s ranger station.
The formalities for a foreign visitor
The US civil aviation authority (FAA) applies the recreational flying rules to tourists:
- Pass the TRUST test, free, online, in English. It takes half an hour and can’t be failed: you correct your mistakes as you go. Keep the certificate on you.
- Register the drone on the FAADroneZone website if it weighs more than 250 grams: 5 dollars for three years. The number you receive must be displayed on the aircraft. For a foreign visitor, this registration counts as a recognition of ownership.
- Comply with Remote ID for any drone subject to registration. Recent models have it built in.
A drone under 250 grams escapes registration, but not the other rules.
For our part, we travel with two DJI drones that we love, both under 250 grams: the Neo 2, a tiny model that follows us by itself, and the Mini 3. Before every flight, we check in the Air Aware app that the area is allowed.
Not all no-fly zones are permanent. In Vero Beach, Florida, we couldn’t fly the drone: the American president was in Palm Beach, and flying was temporarily banned in the area.
The flying rules
- 120 metres maximum height (400 feet).
- Always within sight.
- Not over people or moving vehicles.
- Not in controlled airspace without authorisation. FAA-approved apps, such as Aloft or AutoPilot, show where you can fly and issue the authorisation in a few seconds.
- Absolute priority to planes and helicopters.
On a plane, batteries travel in the cabin, terminals protected, never in the hold.
The rules change: check on faa.gov/uas before you leave.
Useful gear on a road trip
- A polarising filter for a camera with a lens: it darkens the sky, removes reflections on water and brings out the rock.
- A light tripod, for sunrises and stars.
- A cloth and a blower: desert dust gets in everywhere. Change lenses in the car, doors closed.
- Several batteries and a charger on the car socket.
- A rain cover or a plastic bag, for the spray from Yosemite’s waterfalls.
Heat. A camera or phone left on the dashboard shuts down, and batteries don’t like it. Keep everything in the shade, under a seat.
Cold. Batteries drain twice as fast. Keep one in an inside pocket.
Photographing the stars
Far from the cities, the sky of the West is one of the darkest you can see. Bryce Canyon, Death Valley, Capitol Reef, Canyonlands and Natural Bridges are recognised dark sky places.
- Aim for the new moon, and for summer to see the core of the Milky Way.
- Starting settings with a camera on a tripod: wide-angle, widest aperture, a 15 to 20 second exposure, ISO 3200.
- Recent phones have a night mode that gives good results, propped on a rock.
- Use a red light so as not to dazzle other people.
Many parks hold stargazing evenings with rangers and telescopes.
Backing up your photos
Losing three weeks of photos is the worst souvenir you can bring home.
- At least two copies, in two different places. The memory cards in the backpack, the copy in the suitcase.
- Several memory cards rather than a single very large one, and don’t erase them before you get home.
- An external SSD or a laptop for copying every evening.
- Online backup (iCloud, Google Photos) for the phone. Start it on the hotel wifi, plugged into the mains, and leave it running overnight. Motel wifi is slow: don’t wait ten days.
- Videos fill the phone very fast. Check the free space before you leave.